Bearish Transition With High Confluence
A Phase 2 Ready bearish case shows high Grace and Ada agreement before a clean downside displacement sequence.
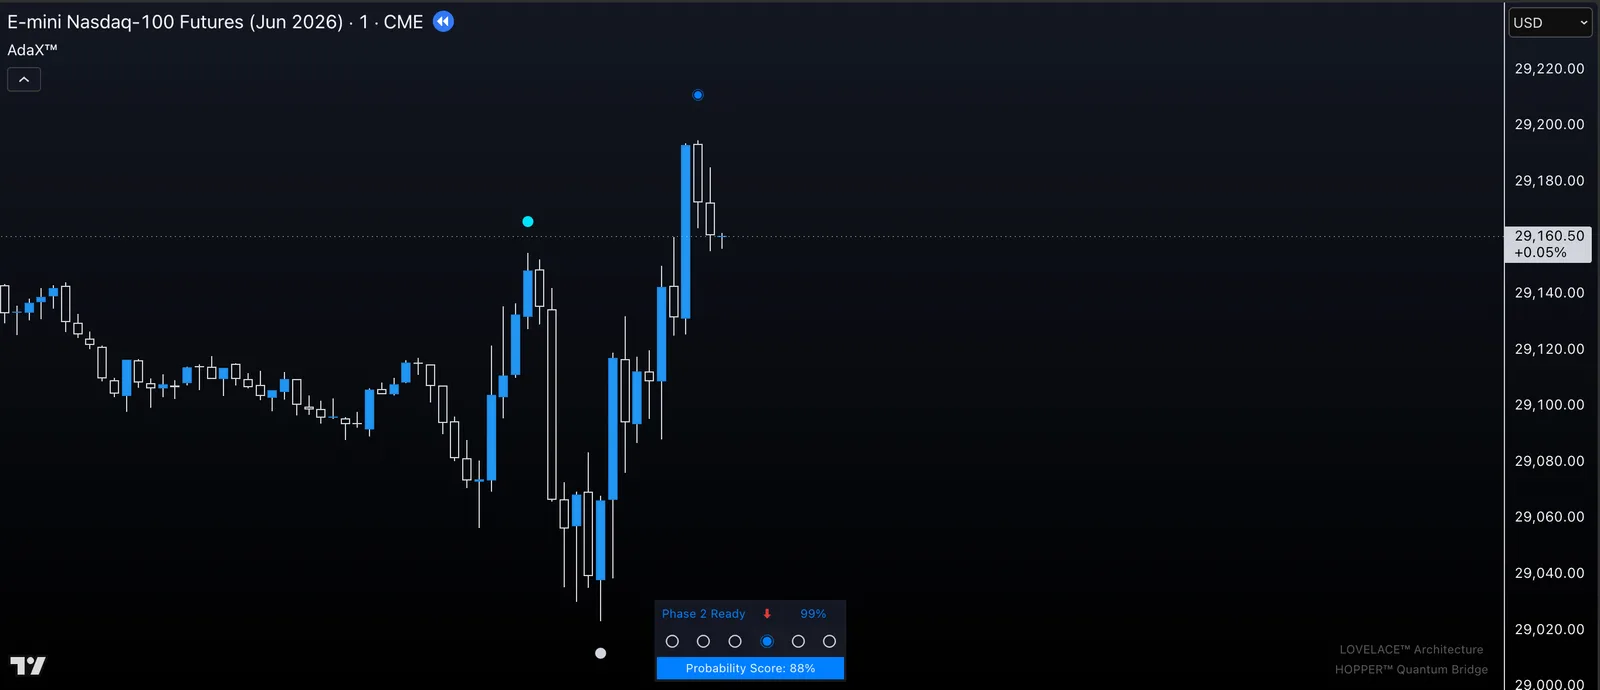
High Confluence To The Downside
The fourth Hopper example shows the same bridge logic applied to a bearish transition. Grace reads the state at 99% while Ada confirms the environment at 88%. Both layers are above threshold before the downside displacement becomes fully visible.
The direction is different, but the research problem is the same: does the current state have permission to become the next state?
State Before Movement
The before frame matters because it captures the condition before resolution. Hopper is not validating the move after the fact. It is showing the bridge state while the transition is still forming.
That is why Phase 2 Ready is important. It means the condition has enough structure for the model to treat the bearish transition as active rather than speculative.
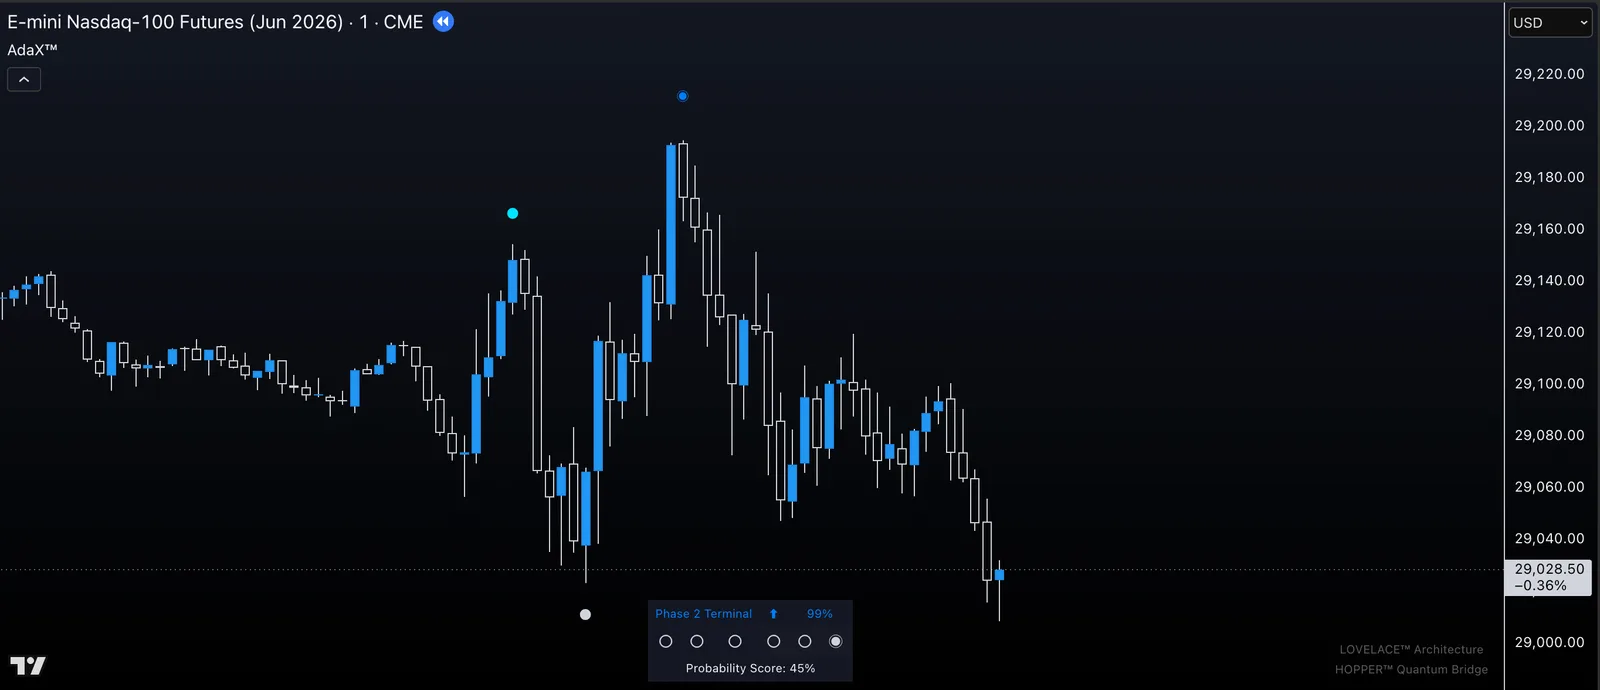
Clean Displacement
The after frame shows a clean downside displacement. The value is not a promise that every ready state resolves this way. It is a case study in what high-confluence agreement can look like before a directional transition becomes obvious.
Hopper adds discipline by requiring both state behavior and architectural probability to align before the example becomes meaningful.
Screenshot Sequence
Study the next state with Ada X Research.
Disclaimer: Ada X Research is for educational and research purposes only. Nothing shared is financial advice, investment advice, or a trading signal. Trading involves risk, and users are responsible for their own decisions.
Request access